Last week I spent a couple of days visiting the area surrounding Moab, Utah. I had several "must do" activities in mind, one of them to spend time photographing Arches National Park. I had visited Arches National Park briefly last November, a quick drive through the park during my honeymoon that gave me enough of a taste to make me want to come back for more.
I researched the park to get a feel for what I wanted to see, and I knew from reading first-hand accounts from other photographers and from my visit to Natural Bridges National Monument last April that my fisheye lens would come in handy. Although I took my full complement of lenses with me to Moab, I decided to pare it down to three for when I was out in the field - the 16-85 DX VR wide to midrange zoom; a 10-24 DX ultra wide-angle zoom; and the 10.5 DX fisheye, carrying the extra lens in a Lowepro SlingShot backpack that had room for snacks and some odds and ends like extra battery, cleaning cloth, and filter brush.
My first morning in Moab, I drove into Arches and decided to stop at the pull-out for Sand Dune Arch and Broken Arch. I started down the trail to Broken Arch just as the sun was coming over the horizon, and after the short hike, I found myself at the arch's base. After taking a few shots with the ultra wide-angle lens, I switched out to the fisheye. With the fisheye I was able to get all of the arch into the frame. This shot was taken looking up through the arch.
I walked through the arch and took a few more shots with the fisheye, trying to keep the camera fairly level with the horizon so not too much curvature would be introduced into the scene. I also took a few shots with the lens stopped down to f22 to incorporate a sunburst into the frame.
After hiking back out I drove down the road a bit until I got to the parking area for the Windows and Double Arch. I headed up the path to check out the North and South Windows and Turret Arch. Of the three, the North Window presented the best opportunity to get a few shots, so I worked the scene for awhile using my ultra wide-angle lens before again switching to the fisheye, and I moved even closer to the arch. Again I stopped down the lens to f22 to incorporate a sunburst into the shot, placing the sun so it was just peeking around the lower curve of the arch.
I left the fisheye on the camera and walked down and over to Double Arch, two large arches that are joined together at one end. It's a massive, impressive structure, and the only way to get all of it into a single shot is with a fisheye lens. There were quite a few people in the area, so I had to be patient and wait a bit until I had a clear shot - which is not too hard to do in a setting like this.
In a nutshell, while the fisheye may not be an essential piece of equipment when photographing in Arches National Park, having one with you definitely gives you the opportunity to get some shots that you would otherwise miss.
Nikon D7000 camera body, Nikkor 10.5 DX Fisheye lens
View my online portfolio here
Recently I had the pleasure of finding out that two of my photos have been selected as finalists for "Your Best Shot(s)," the Albuquerque Photographers' Gallery's Annual Juried Photography Show. In light of that, I thought I'd do something a little different with this blog post and discuss how one of those photos came to be...
Last February my wife and I took a day trip up to Taos, New Mexico, and at one point we found ourselves driving along Taos Canyon Road. I didn't really notice this old home as we passed by the first time, but on the return leg of the trip, it caught my eye, and we pulled over so I could take in the scene. After a quick look I decided to take a few photos, starting with wide shots, walking back and forth. Finally this angle, one that looked down the long length of the decaying porch with the stormy sky in the background, was the one that grabbed me.
As I walked along the porch I came across this boot, sitting there, alone, its story lost to time...
I then took a few steps forward and zoomed in even closer to make the boot the definite emphasis of the photo...
When I shot each of these scenes, I decided to photograph them using bracketed shots, so I had the option of processing the scene using a technique called HDR, or High Dynamic Range photography. In a nutshell, HDR photography is the technique of combining multiple exposures of the same scene so that the full range of light present can be represented in the final image. Another advantage of using bracketed shots is that later, when processing images (I'm currently using Abobe Lightroom for the majority of my work), you have the option of choosing which exposure you feel best represents the scene or mood you were trying to capture.
When processing the first photo I used a single shot, going for a darker image with a moody sky...
When processing the middle photo I decided to combine three images using the HDR technique. First I merged the three photos using a a program called HDR Efex Pro 2, and did some minor work in that program before saving the photo and making some final adjustments in Lightroom. Doing so gave the photo the depth and tonal richness I was looking for...
When processing the last photo I used a single shot, making adjustments in Lightroom. I went with a high contrast look to "age" the scene a bit, trying to give the boot and wooden box in the background a weathered, sun bleached look...
The middle photo was the one I decided to submit to the Albuquerque Photographers' Gallery's photo contest and which became a finalist in the contest. Ultimately, I think that in addition to "working the scene" and moving around and trying different compositions, you must be open to trying different things in the digital darkroom in order to achieve the end result that you're looking for. It's all an ongoing process, and I'm always striving to get better, from the initial capture with the camera to the finishing touches in the digital darkroom...
Nikon D7000, Nikkor 18-55 DX
View my online gallery and order prints (and other merchandise) here
Last month during my Alaska trip, I went to Denali National Park, where I had the good fortune of being able to drive my own vehicle (which in this case was a rental car) into the park. With the exception of four days every fall, private vehicles aren't allowed past a certain point in the park, so being able to explore and look around at my own pace was an opportunity I was looking forward to. If you're interested in this opportunity you can get the scoop here - I highly recommend it.
Denali, home to North America's highest peak, Mount McKinley, is an expansive, beautiful, mythical place. So much has been written about it and so many photos have been taken of the park, that I don't know if there's much I can add to the conversation. What I can do is share a few photos, a glimpse of what that day was like for me...
"Your landscape pictures shouldn't say 'I was here,' they need to say 'you need to be here.'" ~ Moose Peterson
A tall order, trying to live up to Moose's statement, and I don't know if I've accomplished that, but it's not for lack of trying...
This photo was taken at the first pullout where Mt. McKinley - weather permitting - can typically be seen. A great vantage point...
When I took this photo my thought behind it was to capture as much of the sweeping view of the mountain range and river bed as possible. I cropped some of the foreground out and went with a landscape orientation to emphasize that feel even more...
Similar to the photo above, standing in the same spot, I zoomed in to capture a smaller portion of the scene...
This photo was taken a little way past the Eielson Visitor Center...
The Denali Road Lottery provides viewing opportunities like this, opportunities for photographers to accept Moose Peterson's challenge and try to take photos that make people think "I need to be there."
Nikon D7000, Nikkor 16-85 DX VR
View photos from my Alaska gallery here
A couple of weeks ago I made the trip north to Alaska, returning to my former home for a brief visit. While there, one of several road trips I made was to Seward, a small town nestled along the shores of Resurrection Bay.
I drove to Seward early in the morning as I wanted to be there before the sun rose. A few miles outside Seward, I was driving past Bear Lake when I saw the reflection of the mountains in the water, and I quickly pulled over to the parking area on the south side of the shore. Normally, I don't compose a photo with the horizon line in the middle of the frame, but here I wanted to give equal weight to the mountains and their reflection...
Once I got into town, I started the morning by walking the docks of the boat harbor. As the light filled the sky, reflections began to fall across the early morning's still water. Soon the reflection of this boat and the clouds in the water caught my eye. I composed the shot so the frame would essentially be divided into thirds - the boat, the reflection of the boat, and the reflection of the sky in the water.
Soon the sun started to break the horizon. I stopped to take this photo, crouching down to emphasize the metallic reflection in the water...
At the corner of the harbor I noticed this seawall and was immediately attracted to the textures and patterns, light and reflections that were present...
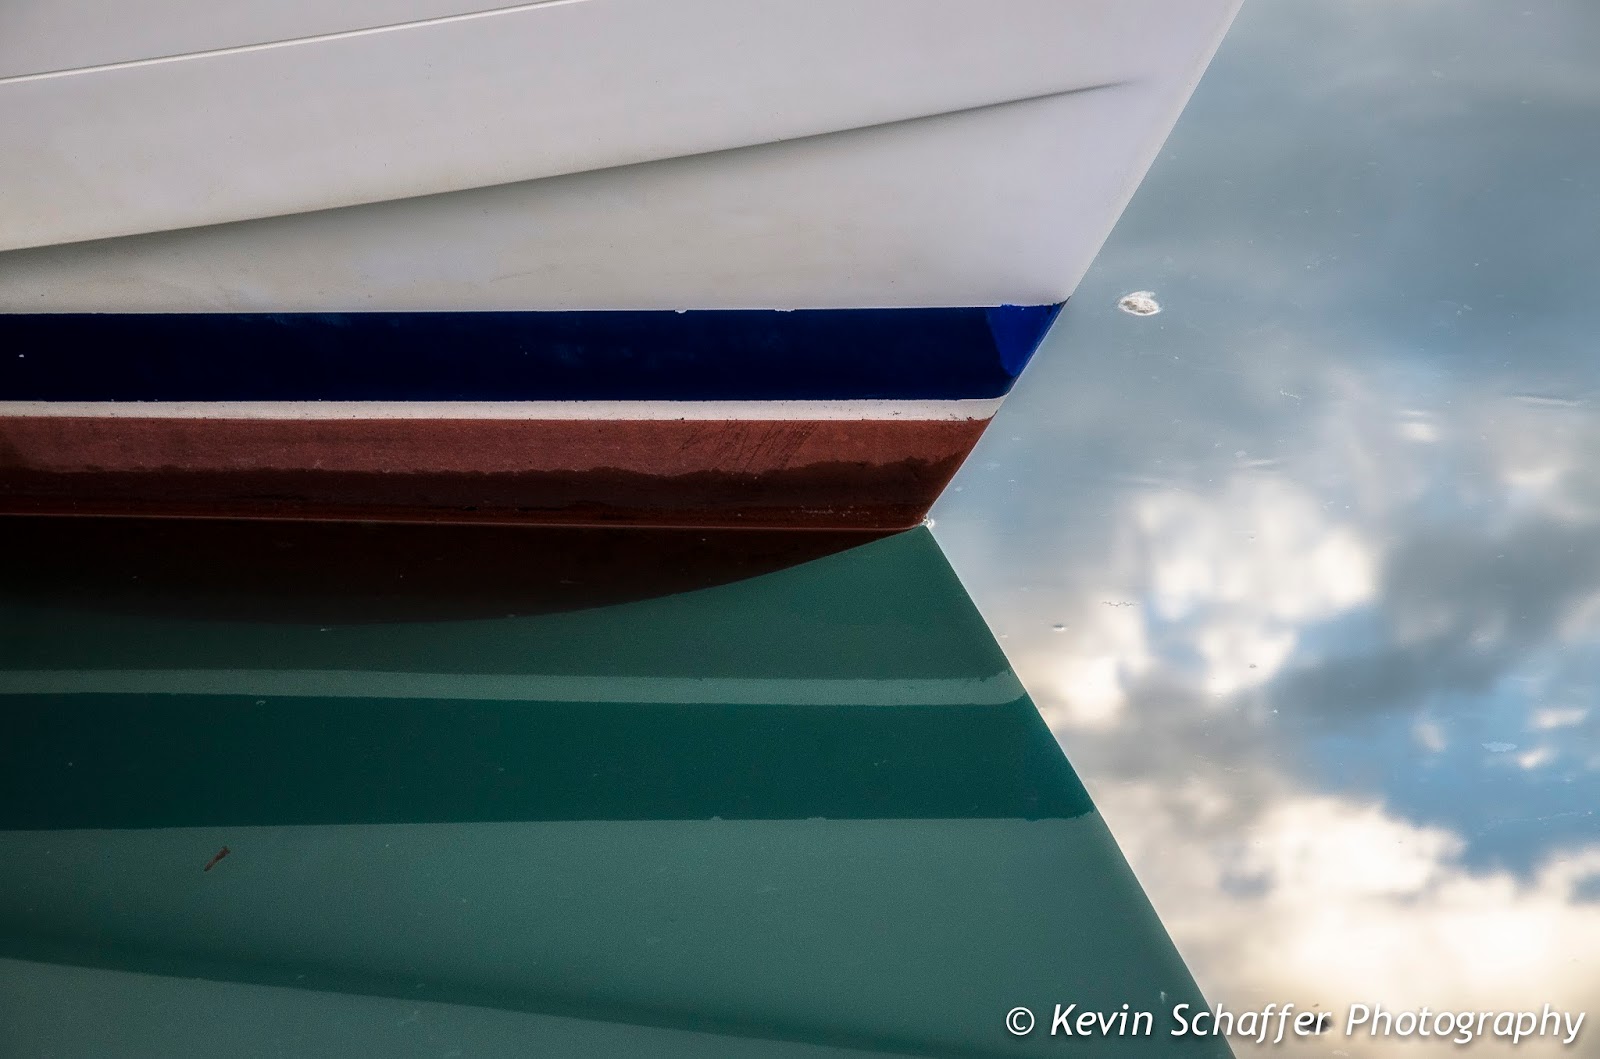
Soon after, I saw this and carefully composed this scene so the blue reflection of the top boat would meet the the grey strip on the bottom boat...
I then took another shot of the harbor, this time emphasizing the sweeping look of the clouds in the sky...
After leaving the harbor I drove down Lowell Point Road, stopping to spend some time at a small boat launch. Soon the sun started to break through the cloud, casting Crepuscular (God) rays towards the sea...
I worked the scene for awhile, and here again I wanted to emphasize the sky and the sense of wide open space...
Nikon D7000, Nikkor 16-85 DX VR
You can view my website here